If I inherited my love of ice cream from my dad, I most definitely inherited my salty snack love from my mom. She always brought home fairly wholesome groceries, like local vegetables and fruits, whole grain breads, and non-fat dairy products. However, every once in a while, there would also be a bag of Chili Cheese Fritos Corn Chips thrown in the mix. I unfortunately did not acquire her ability to ration them out over a few days. Now that I do my own grocery shopping, I usually eat half of my "treat" snack on the way home.
OK - before I get some of your hopes up, I am not going to try to make Fritos. However, I am going to make an all-purpose, salty, crunchy snack: a whole wheat cracker. Now I know you might be thinking, why would I make crackers when it's so easy to buy them at the store? Well, by that logic, why would you ever make your own chocolate chip cookies at home? ...still need convincing? Really? Read on.
For starters, crackers are probably easier to make than cookies and you can eat them with hummus, cheese, or whatever dip you'd like. Like cookies, they make your kitchen smell delicious and they are also better than the store-bought version. Lastly, people give away home-baked cookies all the time, but gifting crackers, that means love.
And, on that note...
.JPG) |
| Only a slight adaptation from the original |
My tweaks:
1. I like a little salt in the dough, as well as sprinkled on the cracker, so I add 1/2t of salt to the dry ingredients
2. For something a little different, I sprinkle pepper or paprika on top of the cracker too
Method:
1) Place dry ingredients in the bowl
 |
| The butter made an early entrance in this photo apparently |
2) Cut in cold butter using a food processor, KitchenAid, knives, or hands
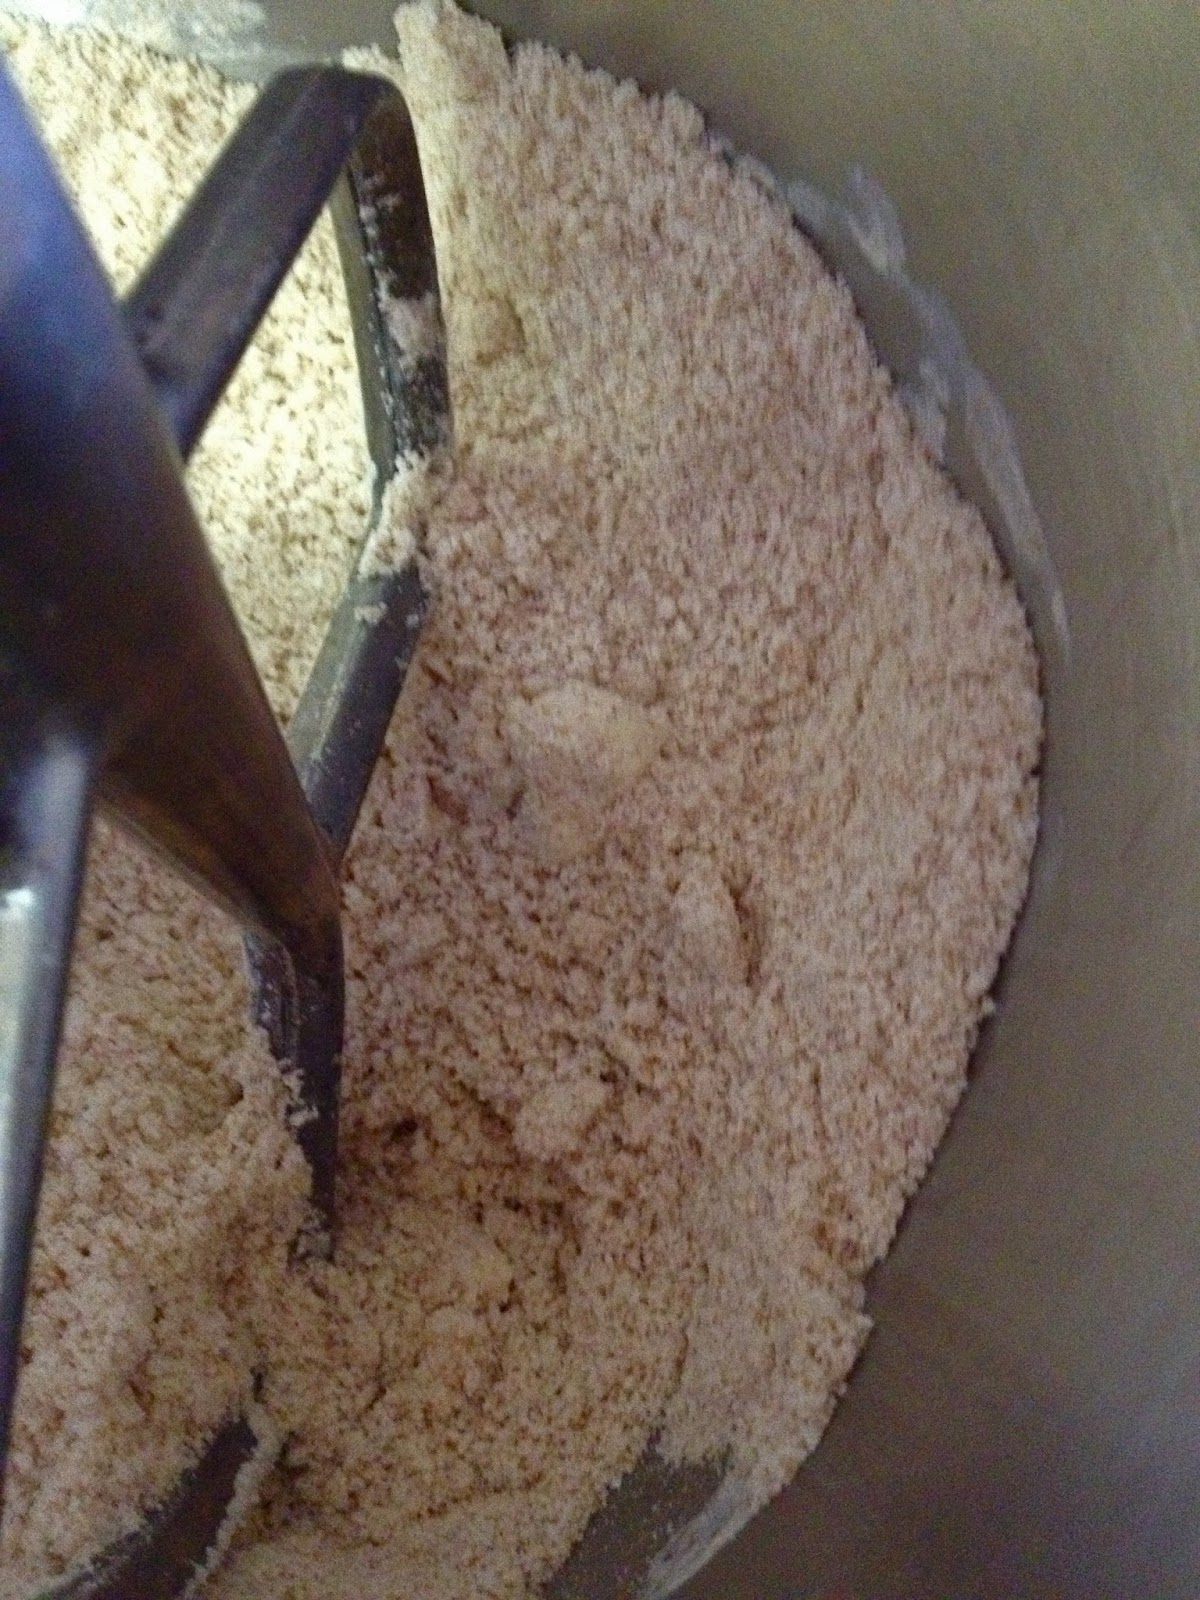 |
| If the largest pieces of butter are pea-sized, move on to step 3. |
3) Add wet ingredients and mix until dough just comes together

4) Wrap in plastic and rest in the fridge for 10 minutes
 |
| Resting makes it easier to roll |
 |
| This little piece will make a whole sheet pan of crackers |
 |
| Flour is your friend. |
When using a rolling pin, always roll straight away from your body rather than turning the pin at an angle, or turning it completely perpendicular. You will be able to balance the pressure in both arms more evenly, resulting in a more even cracker, cookie, or pie crust. If the dough is uneven, rotate the dough 90 degrees, not your rolling pin. This dough has a lot of moisture, so I'd suggest rotating and adding flour underneath the dough every 3-4 passes with the rolling pin. After it gets pretty thin, it will be harder to lift and rotate, so at that point, just fold up a side and put more flour down where it's sticking. I know this sounds complicated but with practice, it won't take more than a minute to do.


7) Place parchment with crackers on baking sheet. Brush with melted butter (~4T) and season with salt. If you are like me and only have two baking sheets, you'll have to do this twice . Alternatively, you can just just freeze the remaining two sheets of crackers. Just leave them on the parchment, wrap them up with plastic, then just add butter and salt before baking them some other day.

8) Bake until golden brown at 350 F. It should take about 30 min total, and don't forget to rotate after 10-15 minutes. If they are pale at all, they won't be crispy, so don't be afraid of little extra color.
 |
| Eat me. |
Verdict: This is a menu regular. They've been spotted on a cheese plate with fresh fruit, red pepper jelly and spiced nuts. To round out a nice gift, you could pair them with a wedge of your favorite cheese and a bottle of wine.
 |
| blue cheese + honey = cracker buddies |
No comments:
Post a Comment