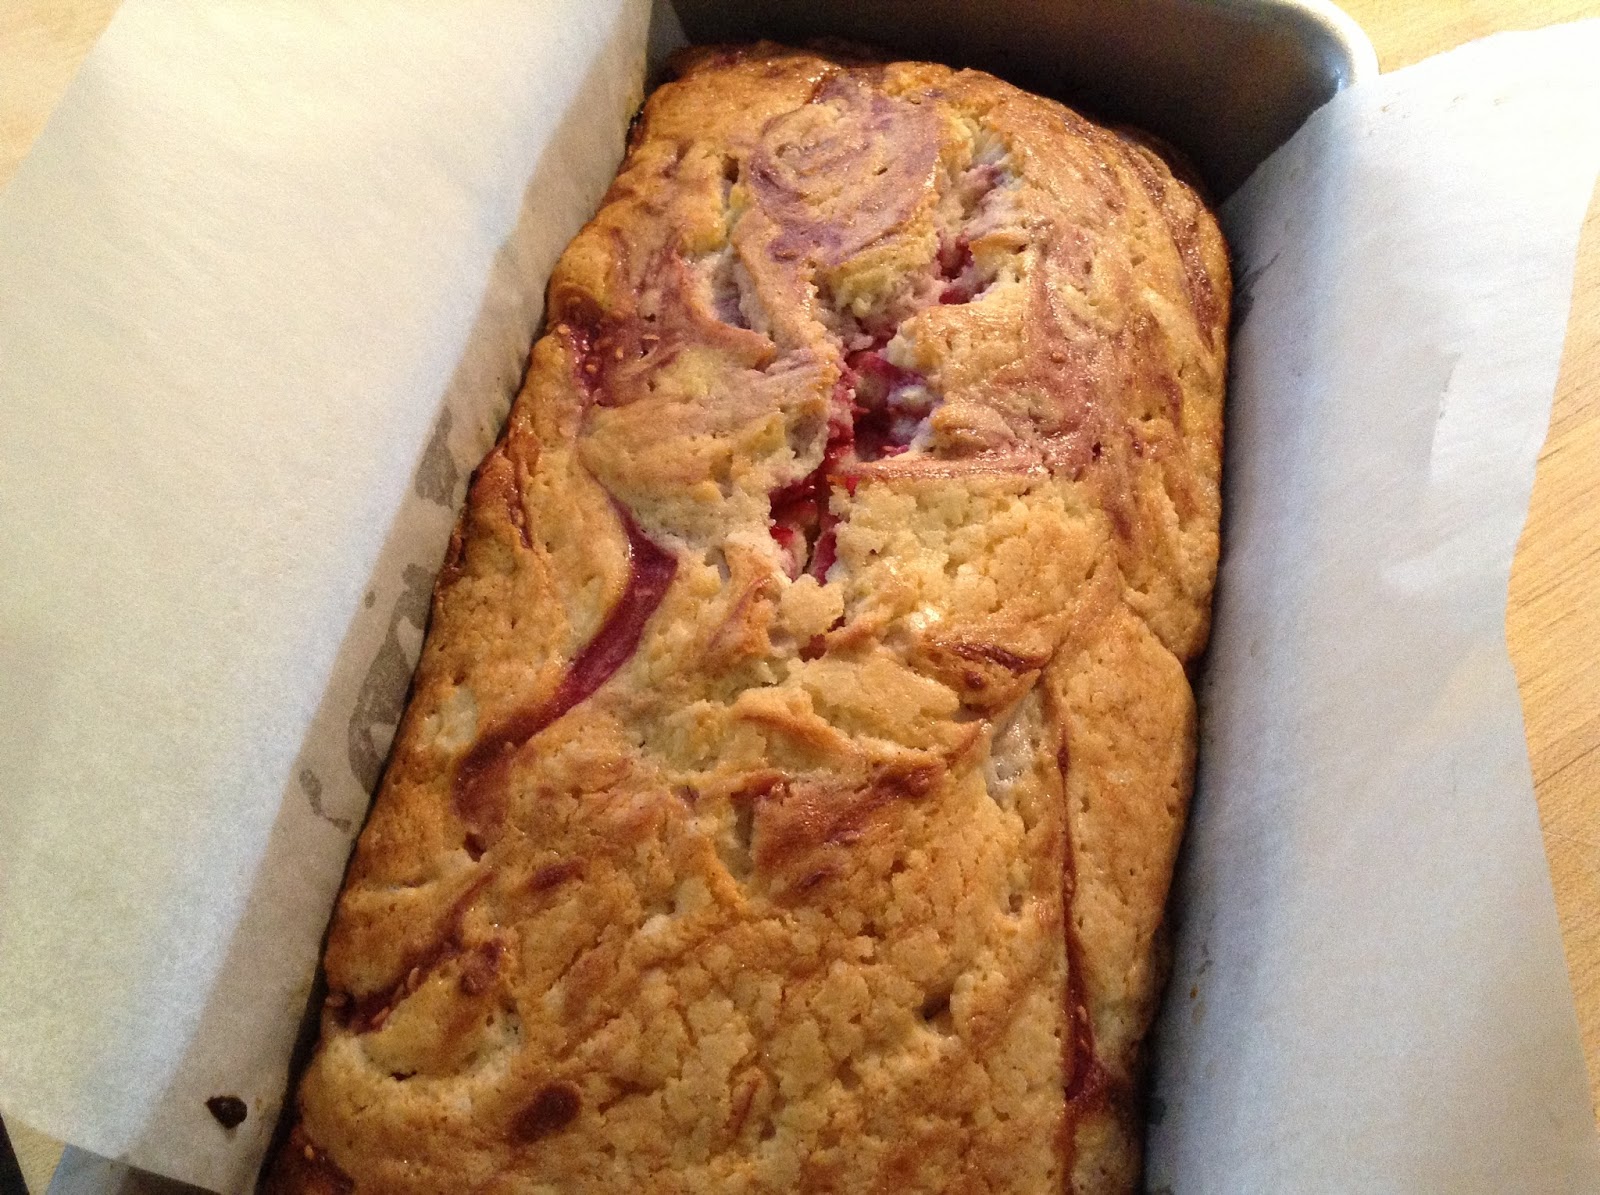
Wednesday, August 28, 2013

Snack time

Just because I like dessert doesn't mean it's the only thing I eat.  In fact, late at night, I usually crave salty, crunchy snacks.  Let's ignore the fact that this craving is probably a reaction to my sugar consumption throughout the day, and move on.

If I inherited my love of ice cream from my dad, I most definitely inherited my salty snack love from my mom.  She always brought home fairly wholesome groceries, like local vegetables and fruits, whole grain breads, and non-fat dairy products.  However, every once in a while, there would also be a bag of Chili Cheese Fritos Corn Chips thrown in the mix.  I unfortunately did not acquire her ability to ration them out over a few days.  Now that I do my own grocery shopping, I usually eat half of my "treat" snack on the way home.  

OK - before I get some of your hopes up, I am not going to try to make Fritos.  However, I am going to make an all-purpose, salty, crunchy snack: a whole wheat cracker.  Now I know you might be thinking, why would I make crackers when it's so easy to buy them at the store?  Well, by that logic, why would you ever make your own chocolate chip cookies at home?  ...still need convincing?  Really?  Read on.

For starters, crackers are probably easier to make than cookies and you can eat them with hummus, cheese, or whatever dip you'd like.  Like cookies, they make your kitchen smell delicious and they are also better than the store-bought version.  Lastly, people give away home-baked cookies all the time, but gifting crackers, that means love. 

And, on that note...
Only a slight adaptation from the original
The Original Recipe: Alton Brown's Whole Wheat Cracker recipe in I'm Just Here for More Food

My tweaks:
1. I like a little salt in the dough, as well as sprinkled on the cracker, so I add 1/2t of salt to the dry ingredients
2. For something a little different, I sprinkle pepper or paprika on top of the cracker too

Method: 
1) Place dry ingredients in the bowl
The butter made an early entrance in this photo apparently
2) Cut in cold butter using a food processor, KitchenAid, knives, or hands
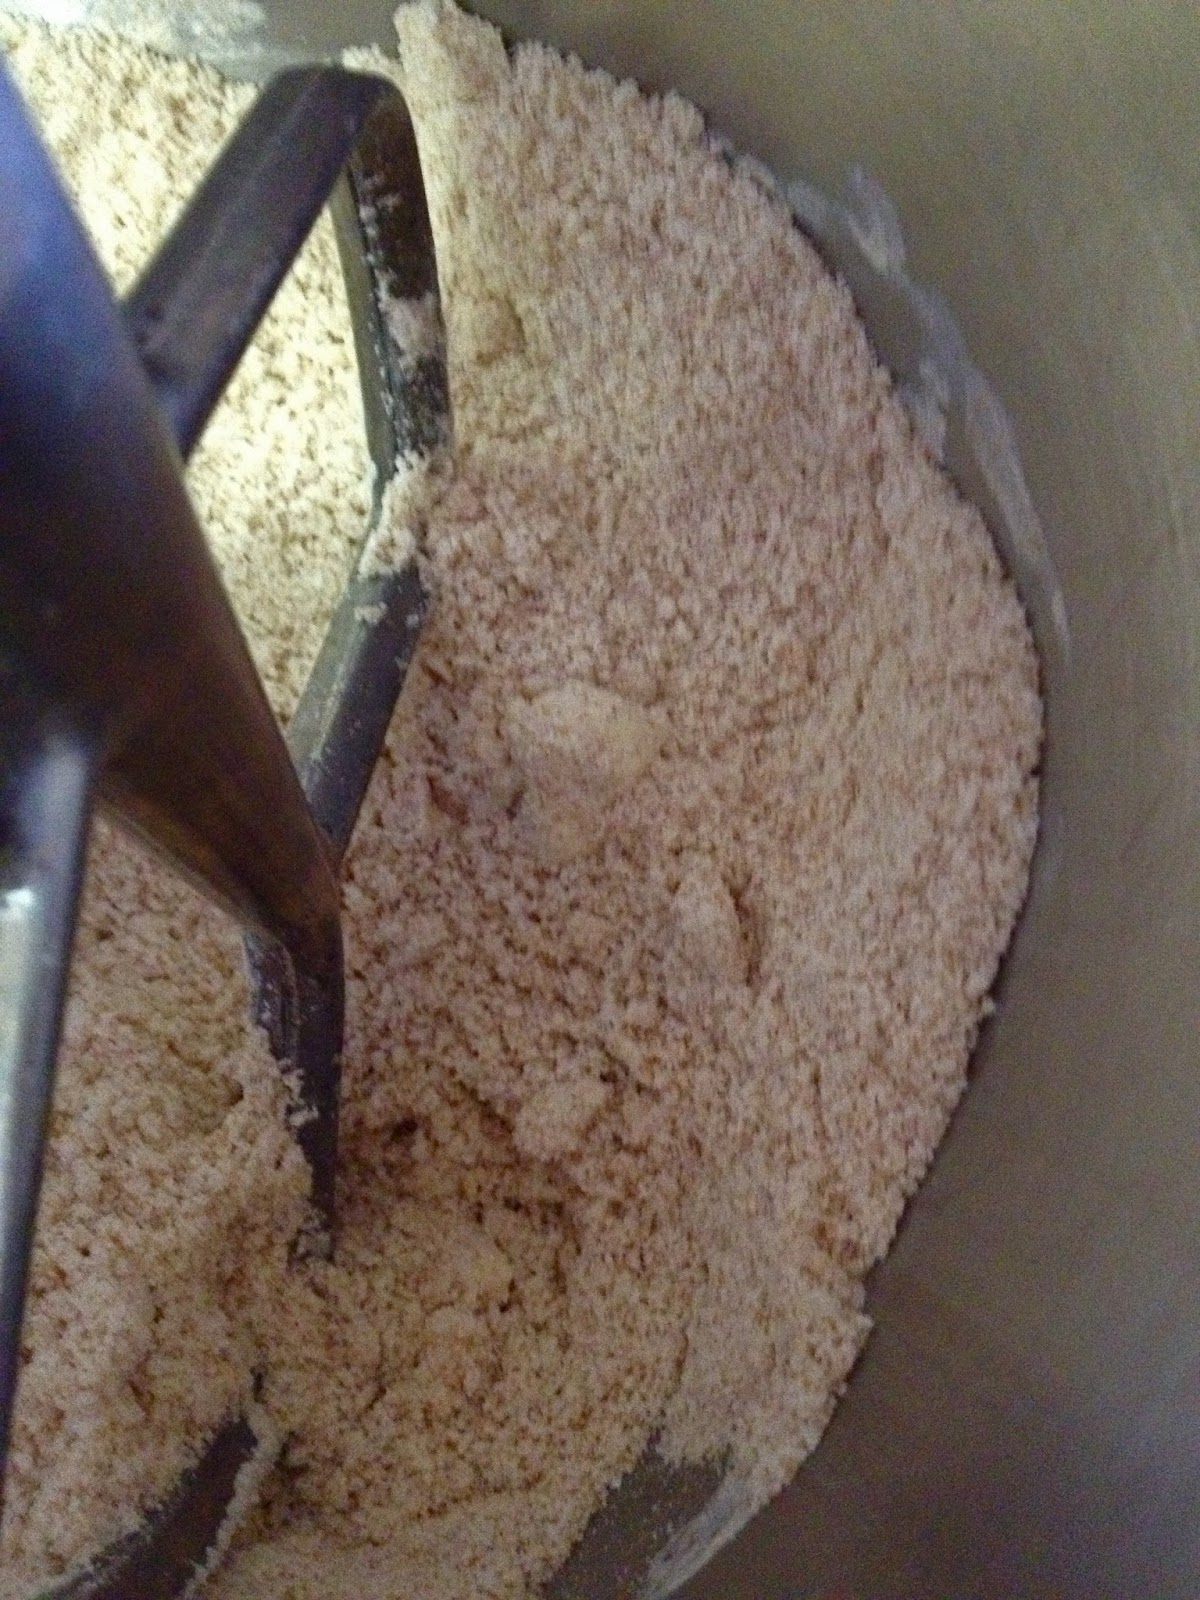
If the largest pieces of butter are pea-sized, move on to step 3. 
3) Add wet ingredients and mix until dough just comes together

4) Wrap in plastic and rest in the fridge for 10 minutes
Resting makes it easier to roll
 5) Working with just one quarter of the dough at a time, roll it as thin as possible (1/8-1/16''), using plenty of flour to keep it from sticking.  
This little piece will make a whole
sheet pan of crackers
Flour is your friend.
When using a rolling pin, always roll straight away from your body rather than turning the pin at an angle, or turning it completely perpendicular.  You will be able to balance the pressure in both arms more evenly, resulting in a more even cracker, cookie, or pie crust.  If the dough is uneven, rotate the dough 90 degrees, not your rolling pin.  This dough has a lot of moisture, so I'd suggest rotating and adding flour underneath the dough every 3-4 passes with the rolling pin.  After it gets pretty thin, it will be harder to lift and rotate, so at that point, just fold up a side and put more flour down where it's sticking.  I know this sounds complicated but with practice, it won't take more than a minute to do.


6) Move to parchment and then cut into triangles using a pizza cutter or bench scraper. 

7) Place parchment with crackers on baking sheet.  Brush with melted butter (~4T) and season with salt.  If you are like me and only have two baking sheets, you'll have to do this twice .  Alternatively, you can just just freeze the remaining two sheets of crackers.  Just leave them on the parchment, wrap them up with plastic, then just add butter and salt before baking them some other day. 
Side note:  When seasoning pretty much anything, release the seasoning from about one foot above the food.  If you've ever seen a chef do this and think it's just them showing off, it actually serves a purpose.  The further away you season, the more evenly your seasoning falls on to the food below.  Think of it like a can of spray paint.  As the distance from the nozzle to the wall increases, the more even the color coverage is.

8) Bake until golden brown at 350 F.  It should take about 30 min total, and don't forget to rotate after 10-15 minutes.  If they are pale at all, they won't be crispy, so don't be afraid of little extra color.  
Eat me.
The Result: A crispy cracker that's great on its own, or shines with some side kicks.   

Verdict: This is a menu regular.  They've been spotted on a cheese plate with fresh fruit, red pepper jelly and spiced nuts.  To round out a nice gift, you could pair them with a wedge of your favorite cheese and a bottle of wine. 

blue cheese + honey = cracker buddies
There will always be a place in my heart for the aforementioned flavored corn chips (hopefully not literally!), but recently they have scooted over to make room for these crackers. I hope you enjoy them too!


Tuesday, August 27, 2013

Some Like It Hot

I'm not one of those people.  After leaving California's Central Valley (90-105 F summers) for more temperate climates further south in LA area (70-80 F year round), my ability to cope with uncomfortable heat evaporated.  Then, what little heat adaptability I had left completely disappeared when I later moved to the SF Bay area (65 F in July).  The one thing that has remained constant across geography and time, is my ability to consume large amounts of ice cream regardless of air temperature.  It is a talent I inherited from my father and a skill I've continued to hone over the decades through rigorous and focused training.    

So given that today is one of the hottest days so far since moving to Philly I decided I should make some ice cream.  Then I decided, since I'd probably eat all of it, I should make sherbet.  Plus, milk is cheaper, sherbet is faster, and I have bigger plans for the pint of cream sitting in my fridge.  
Technically these are pluots, but let's not get too snobby.
I decided on Plum Buttermilk Sherbet.  After Googling for a bit, I triangulated a loose approach to throwing a batch together, but I wouldn't say it was a recipe per se.  A recipe for a frozen delight can be easier to develop than say, a cake recipe, but you still have to balance several factors.  And, I'm not talking just about taste, though that is clearly important, I'm talking about getting the right texture once it's frozen.  I've seen freshly churned ice cream enter a freezer and I've seen both concrete bricks and slushies exit a few hours later (none of mine...I swear). So here is a quick run down on the usual suspects without getting too technical.

1. Sugar: A higher proportion of sugar lowers the freezing point of the mix.  You put too much sugar in, it will not freeze properly.  Too little and you've got an ice cube, or a popsicle, which fortunately is also delicious.

2. Fat: Fats have high freezing points.  Just think about what happens when you put some oils in the fridge, they harden.  So, too much fat may lead to an ice cream that may be too hard and chalky...and will probably feel fatty on the roof of your mouth.  

3. Alcohol:  Anti-freeze is made of alcohol, so besides flavoring your frozen treat, all that rum/vodka/bourbon also makes it softer.  Too much liquor can make it a slushy, so don't get too boozy if you want something scoopable.

4. Thickeners:  This one is weird, I realize, but hear me out.  Good texture is mainly dominated by small ice crystal size.  A thicker sorbet base will keep some of the ice crystals from getting too big as the mixture hardens in the freezer.  These more viscous bases can incorporate more air (think apple sauce versus apple juice), and more air means a more frothy or "creamier" scoop.  This is especially important for sorbets which--gasp--sometimes contain egg whites or gelatin for increased creaminess and improved texture.  The story gets more complicated with custard-based ice cream because of more milk solids, fat, egg yolk etc.  That's for another time, we don't want anyone falling asleep now.

5. Water:  All of the components listed above, in essence, allow you to tweak the way water freezes.  So if you want the opposite affect of everything above, add more water.  Clearly this dilutes flavor, use sparingly.

With all that in our apron pocket, time to mix!
Put it all in the blender and use a scale
...no washing measuring cups and spatulas!
A little corn syrup is not evil (more viscosity = better texture)
After tasting over and over again while slowly adding
the sugar (the little triangle symbol), this is the "recipe"
A few pinches = Flavor Country
Side note: I once heard a savory chef who was moonlighting as a pastry chef say that "Vanilla is the 'salt' of the pastry world" and he added vanilla to EVERYTHING.  I now know where he got it, and I love & respect David Lebovitz, but I don't think that line is true.  Vanilla is very useful, but salt is the 'salt' of the pastry world, and if used properly, it will enhance most desserts.  
If you don't have this texture in 15-20 minutes of
churning in a home machine...something is wrong.
Done! About 23 minutes for me.
The Results:  Tasty and scoopable.  A little on the sweeter side of perfect, which also put it on the softer side as well, but it paired well with some fresh blueberries.  Texture is light and creamy, and the buttermilk provided nice acidity.

Verdict: I'd make it again, but I'd employ a few tweaks.  You could add another 2-3 tart plums to balance the sugar and add more color.  If you don't like things too sweet, and don't mind the alcohol, you could probably cut 50-75g of sugar and add 1T of vodka.  

Alright, back to training...


Monday, August 26, 2013

Restarting my kitchen (blog)

Davao Gulf, Philippines
After traveling over two oceans this summer, moving thousands of miles across the country, and unpacking countless illegibly labeled boxes, I was finally able to bake in my new home today.  

Of course I couldn't get started until my groceries were delivered.  Yes, I know, for shame.  I am unwilling, and probably unable, to carry 20 pounds of sugar and flour more than four blocks.  So FreshDirect, I thank you, and sorry you had to dodge the Philadelphia parking authority a few times.  
The delivery guy said the parking authority lady was lying in wait behind some bushes...watch out.
I don't plan on having fruits and vegetables delivered because the value just isn't there, but when it comes to fully stocking one's baking arsenal, it really is a no brainer, especially with the waived delivery fee for first time customers.  It's super easy to order, and they have a better selection than you'd expect, especially for cheese!  (I picked up some Rouge et Noir brie, anyone want to party?)  Alright, enough plugging the delivery guys and admitting laziness on my part.  To the baking!

After pinging my food partner in crime, Liz, for an idea that didn't require too many fancy ingredients, she suggested pound cake.  Ah, a perfect baking season opener.  

I already had a recipe in mind that I had found last week while trolling on MarthaStewart.com's blackberry recipe album.  However, since good blackberries are hard to find, and bad ones are truly disgusting and painfully disappointing, I went with raspberries. Plus they were super cheap at TJs this week--bonus!


The Original Recipe: Martha Stewart's Everyday Food Blackberry-Swirl Poundcake

Tweaks: 
1. Raspberries for Blackberries
2. No sour cream on hand, replaced with 50/50 buttermilk/greek yogurt
3. Added zest of one lemon

Method: Basic Creaming, alternating dry and wet ingredients, fold in berry puree 

Notes & Tips:  
1. When zest is called for in a recipe, add it to the creaming step.  The friction of the sugar will draw out more oils (flavor) than if you add it later on.
Make life easy on yourself, and your mixer, and use room temp butter

2. If you have a stick or hand blender use that instead of food processor for the berry puree.  Less cleanup & faster.
I almost abandoned the whole project to eat this straight with a spoon

3. Typically poundcake has very little chemical leavener, in this case baking powder, because the main leavening action is the physical aeration that occurs during the creaming step.  Plus it's supposed to have a denser crumb by tradition.  The 1/4 teaspoon listed in this recipe is "insurance", and unnecessary as long as you beat the crap out of the room temperature butter and sugar.  It should be fluffy and white before adding the eggs.  Once the eggs are in, no more aeration.
Fairly even crumb.  Not bad.
The Results: A well-textured cake, slightly dense like you'd expect a poundcake to be, but not too dense, and definitely not dry.  I appreciated that it wasn't too sweet either.  I think it would make a good gift and would pair well with some vanilla ice cream or whipped cream for a true dessert.  Also, if you wanted to be super efficient (read: lazy) you could probably use any loose or thinned jam in place of fresh fruit puree.

Verdict: I'd make it again.  Maybe next time with cranberries and orange zest.  


And Sean, who usually gravitates more towards chocolately items, even tried it.
Back in April, I distinctly remember thinking I wasn't going to feel at home until I stopped living out of suitcases and was able to make something in an oven.  I have to say, I haven't fully acclimatized to everything in Philly (the humidity, no car, nighttime swimming, um...more humidity), but it's starting to feel pretty good otherwise.


Roma!