Showing posts with label savory. Show all posts

Tuesday, October 15, 2013

Soup Soulmate

Ok, I'll admit it, I got lazy on the blog front last week.  However, it was only because I was so busy in the kitchen.  With what exactly?  Let's just say, I don't want to see any cookies for awhile.  For maybe, like, a whole week.

Anyway, fall is definitely in full swing, and I absolutely love it.  I put the upstairs fan away, I've taken the blankets out of the closet, and I'm wearing fuzzy slippers.  It's also just cool enough to take the big stock pot out of the cupboard to make soup.  I love making soup and eating soup.  So comforting, so easy, it's like a nice, warm, food hug.

To complement a good soup, I like a nice hunk of bread.  Maybe even a slice of baguette, a wedge of corn bread, or at the very least a handful of those little oyster crackers.  Maybe even a savory scone?  With corn, bacon, and cheese?  Uh, yes.  Now, please.
Cilantro, roasted corn, thyme, applewood smoked bacon.
This is what I had in my freezer and fridge this morning...use what you have.
I was inspired by a party I attended down in DC this past weekend hosted by my college roommate for her husband.  On the menu were those mini quiche hors d'oeuvres.  Damn, they are so cute!  What's not to love about cheese, bacon, and a few herbs?  Ok, now put it all into a tender scone.  Now there's even more love to go around.

Savory Scones
Yield: 8 scones

Notes: You can freeze well-wrapped, unbaked scones in the freezer up to 1 month.  No need to thaw before baking.

Ingredients:
1 ½ cups AP flour (200g)
¼ cup cornmeal (30g) [if you don't have this, just substitute in an extra ¼ cup flour]
4 teaspoons baking powder
1 teaspoon sugar
¾ teaspoon salt

5 tablespoons butter (75g)

½ cup cheese (30g)
¼ cup corn [mine was roasted and frozen]
¼ cup cooked bacon, chopped [maybe sausage, or ham?]
1 tablespoon assorted herbs, chopped [thyme, green onions, cilantro, sage]

¾ cup cream + 2 tablespoons (200g)

Tools: Large mixing bowl, measuring cups or scale, measuring spoon, spatula, knife, baking sheet pan

Method:
1. Combine all dry ingredients (flour, cornmeal, baking powder, sugar and salt) in a bowl
2. Use your fingertips to break up the butter into small pieces. Stop once the largest pieces of butter are pea-sized.
Before.
After:
Small pieces of butter are ideal.
Just no gigantic chunks, please.
3. Add in any extras, including cheese, corn, bacon, herbs.
I used Dubliner from Kerrygold, but any cheese will work.
[Thanks for the suggestion Mark!]
4. Pour cream into butter and flour mixture.  Mix with a spatula or wooden spoon just until combined. Dough should look very shaggy.

5. Shape dough into a disk by pressing firmly and cut into wedges
Don't be scared, shaggy is good!
Using your hands, press it into shape.
Pretend you are playing in the sand, and get your hands dirty!
Cut with a sharp knife.

6. Bake at 375°F until golden brown, about 20-25 minutes, rotating after 10 minutes.


The Result: A flavorful, and buttery sidekick to soups everywhere.  A nice stand in for biscuits.  Slice and heat leftovers, for an awesome breakfast sandwich.  Remember, use what you have already in your kitchen.  Sharp cheddar and pickled jalapenos.  Gruyere and ham.  Get hungry and creative.


Wednesday, August 28, 2013

Snack time

Just because I like dessert doesn't mean it's the only thing I eat.  In fact, late at night, I usually crave salty, crunchy snacks.  Let's ignore the fact that this craving is probably a reaction to my sugar consumption throughout the day, and move on.

If I inherited my love of ice cream from my dad, I most definitely inherited my salty snack love from my mom.  She always brought home fairly wholesome groceries, like local vegetables and fruits, whole grain breads, and non-fat dairy products.  However, every once in a while, there would also be a bag of Chili Cheese Fritos Corn Chips thrown in the mix.  I unfortunately did not acquire her ability to ration them out over a few days.  Now that I do my own grocery shopping, I usually eat half of my "treat" snack on the way home.  

OK - before I get some of your hopes up, I am not going to try to make Fritos.  However, I am going to make an all-purpose, salty, crunchy snack: a whole wheat cracker.  Now I know you might be thinking, why would I make crackers when it's so easy to buy them at the store?  Well, by that logic, why would you ever make your own chocolate chip cookies at home?  ...still need convincing?  Really?  Read on.

For starters, crackers are probably easier to make than cookies and you can eat them with hummus, cheese, or whatever dip you'd like.  Like cookies, they make your kitchen smell delicious and they are also better than the store-bought version.  Lastly, people give away home-baked cookies all the time, but gifting crackers, that means love. 

And, on that note...
Only a slight adaptation from the original
The Original Recipe: Alton Brown's Whole Wheat Cracker recipe in I'm Just Here for More Food

My tweaks:
1. I like a little salt in the dough, as well as sprinkled on the cracker, so I add 1/2t of salt to the dry ingredients
2. For something a little different, I sprinkle pepper or paprika on top of the cracker too

Method: 
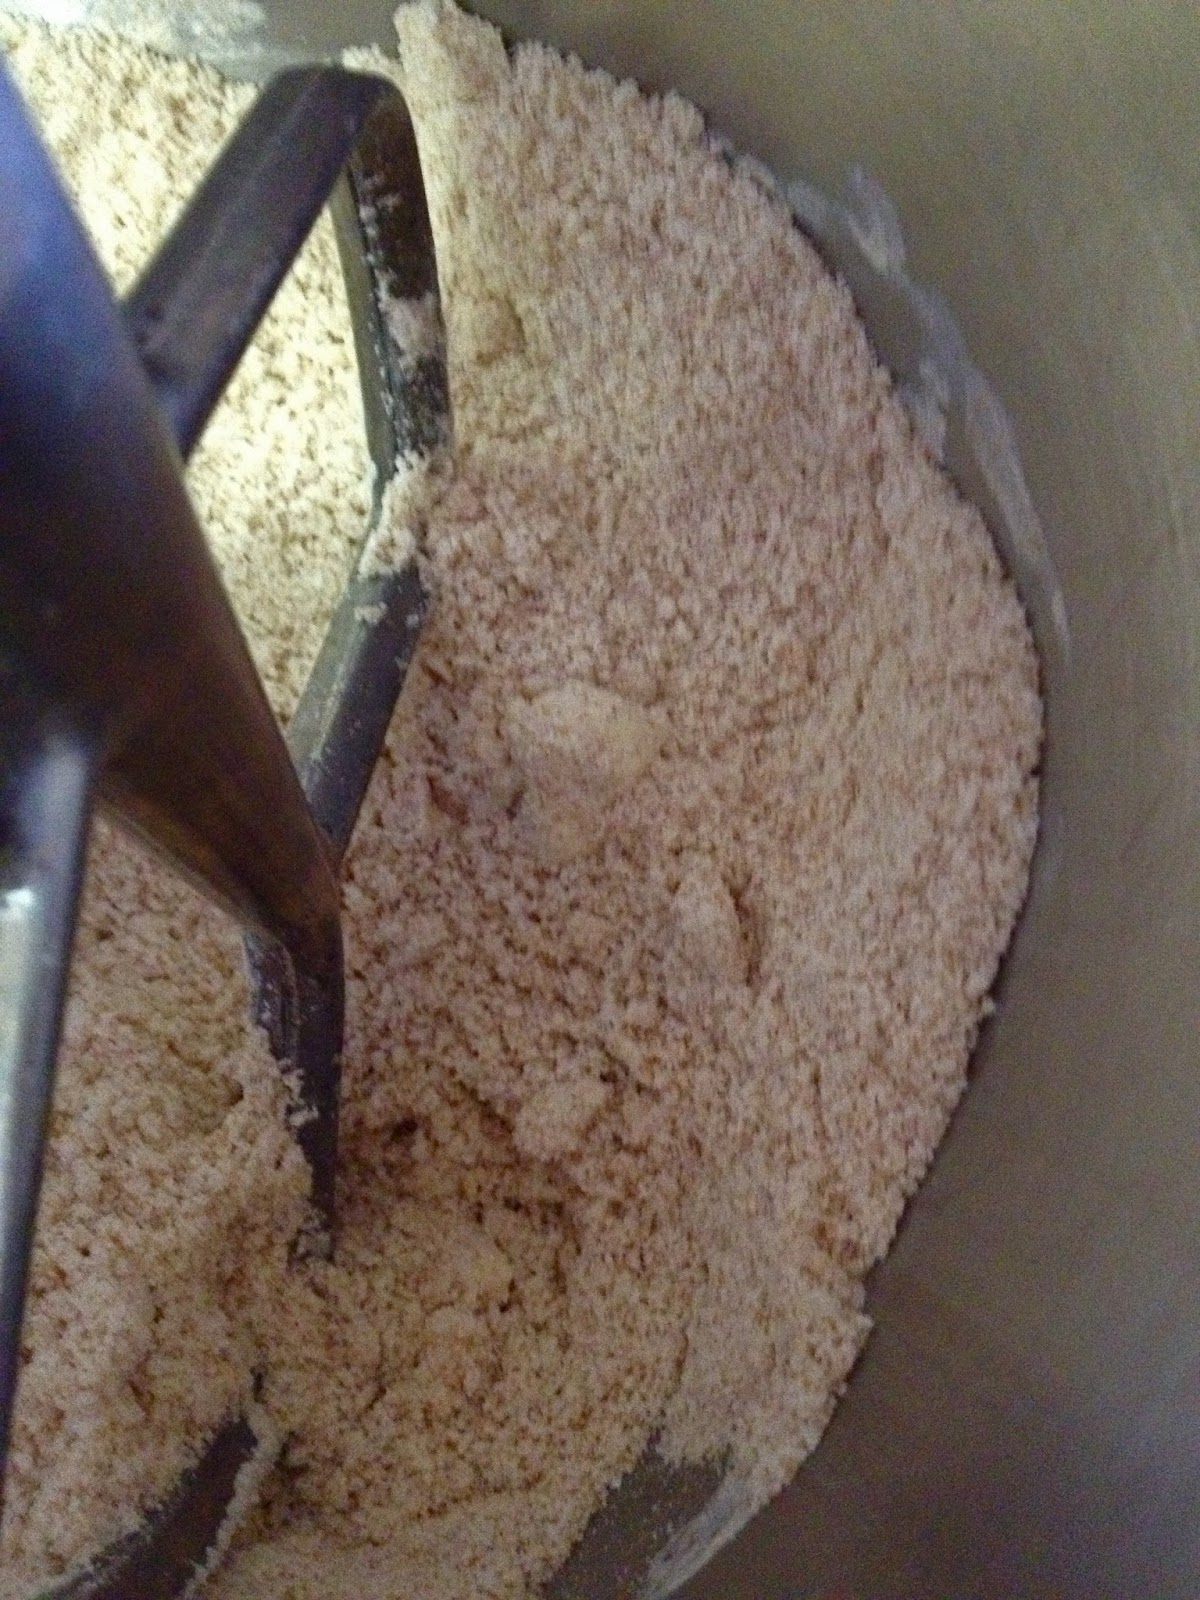
1) Place dry ingredients in the bowl
The butter made an early entrance in this photo apparently
2) Cut in cold butter using a food processor, KitchenAid, knives, or hands
If the largest pieces of butter are pea-sized, move on to step 3. 
3) Add wet ingredients and mix until dough just comes together

4) Wrap in plastic and rest in the fridge for 10 minutes
Resting makes it easier to roll
 5) Working with just one quarter of the dough at a time, roll it as thin as possible (1/8-1/16''), using plenty of flour to keep it from sticking.  
This little piece will make a whole
sheet pan of crackers
Flour is your friend.
When using a rolling pin, always roll straight away from your body rather than turning the pin at an angle, or turning it completely perpendicular.  You will be able to balance the pressure in both arms more evenly, resulting in a more even cracker, cookie, or pie crust.  If the dough is uneven, rotate the dough 90 degrees, not your rolling pin.  This dough has a lot of moisture, so I'd suggest rotating and adding flour underneath the dough every 3-4 passes with the rolling pin.  After it gets pretty thin, it will be harder to lift and rotate, so at that point, just fold up a side and put more flour down where it's sticking.  I know this sounds complicated but with practice, it won't take more than a minute to do.


6) Move to parchment and then cut into triangles using a pizza cutter or bench scraper. 

7) Place parchment with crackers on baking sheet.  Brush with melted butter (~4T) and season with salt.  If you are like me and only have two baking sheets, you'll have to do this twice .  Alternatively, you can just just freeze the remaining two sheets of crackers.  Just leave them on the parchment, wrap them up with plastic, then just add butter and salt before baking them some other day. 
Side note:  When seasoning pretty much anything, release the seasoning from about one foot above the food.  If you've ever seen a chef do this and think it's just them showing off, it actually serves a purpose.  The further away you season, the more evenly your seasoning falls on to the food below.  Think of it like a can of spray paint.  As the distance from the nozzle to the wall increases, the more even the color coverage is.

8) Bake until golden brown at 350 F.  It should take about 30 min total, and don't forget to rotate after 10-15 minutes.  If they are pale at all, they won't be crispy, so don't be afraid of little extra color.  
Eat me.
The Result: A crispy cracker that's great on its own, or shines with some side kicks.   

Verdict: This is a menu regular.  They've been spotted on a cheese plate with fresh fruit, red pepper jelly and spiced nuts.  To round out a nice gift, you could pair them with a wedge of your favorite cheese and a bottle of wine. 

blue cheese + honey = cracker buddies
There will always be a place in my heart for the aforementioned flavored corn chips (hopefully not literally!), but recently they have scooted over to make room for these crackers. I hope you enjoy them too!