Showing posts with label good gift. Show all posts

Tuesday, June 24, 2014

Food Trek: Cambridge, MA

I'll be taking a short break from Philly, but before I leave, I have some serious East Coast eating to do.  First up is Cambridge, Massachusetts.
I never thought a garage-like place in the middle of a residential area would
serve as a destination lunch, but if you like lobster rolls, this place is a must.

Those who know me well, know that it takes a lot of convincing for me to get a sandwich.  What can I say?  I am a historically picky eater and you can never tell what's hiding beneath the bread! However, if there is a type of sandwich I gravitate towards, it's one that has a deliciously moist and tasty filling with no veggies (e.g., pulled pork).  So how was Alive & Kicking's version?  I generally hesitate to use terms like mind-blowing because it's so difficult to live up to, but any place that makes me feel good about paying $16 for lunch is worth mentioning.  Is it a "one and done" kind of place?  Maybe.  Do I want to research this immediately? Yes.
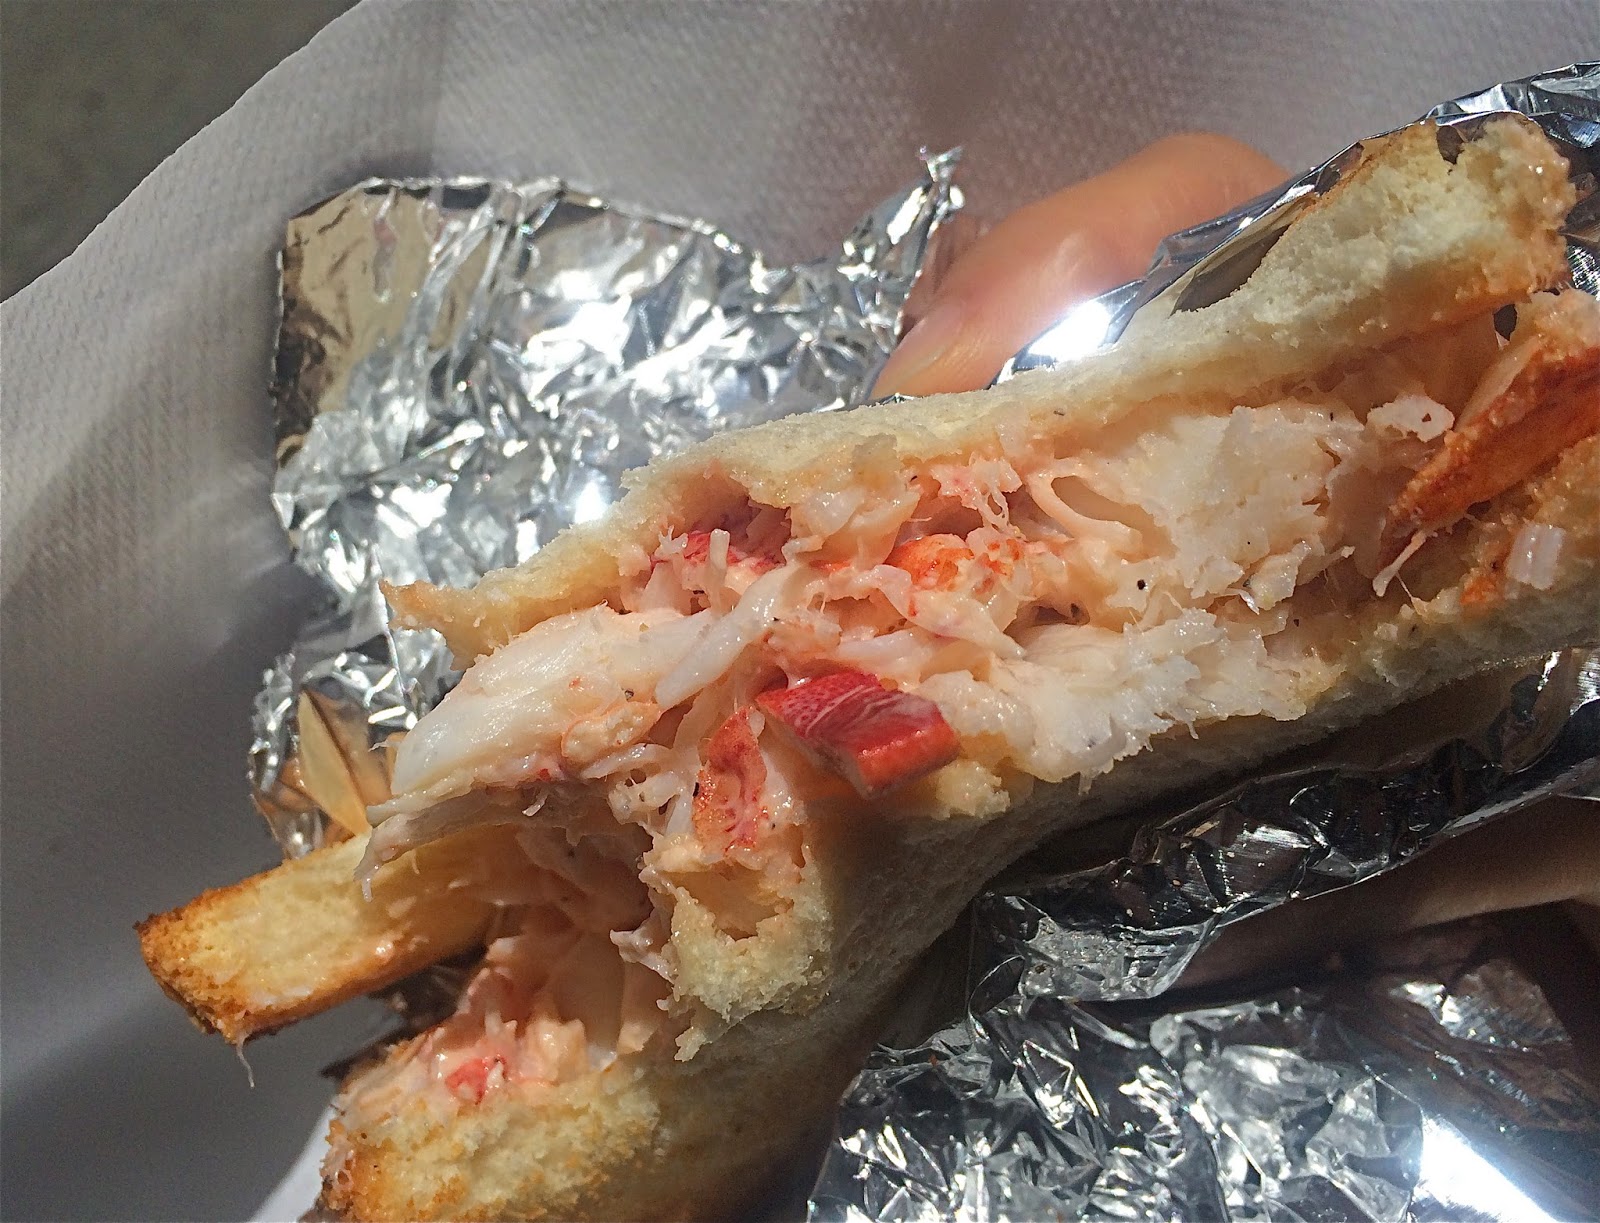
Not a lobster roll, but a lobster sandwich.
Better bread and more lobster.
These beautiful Dogwood blooms decorated so many streets (Thanks Susan!)

Near Harvard Square lies one of the few locations of L.A. Burdick Chocolate, and after learning about their extensive hot chocolate selection, we had no excuse but to try it out.  They had two single-source hot chocolates available, and the tasting notes for the Grenada read like a food-themed Mad lib: "A complex flavor with hints of coffee, banana, and nutmeg, earthy with a fruity cocoa flavor, high cocoa acidity, and a masculine character."  If you are a dark chocolate lover, go for a large cup on a cool night.  Just watch out for the gauntlet of truffles and chocolate bars right at the entrance.  Head to the back for the good stuff and the nicer employees.
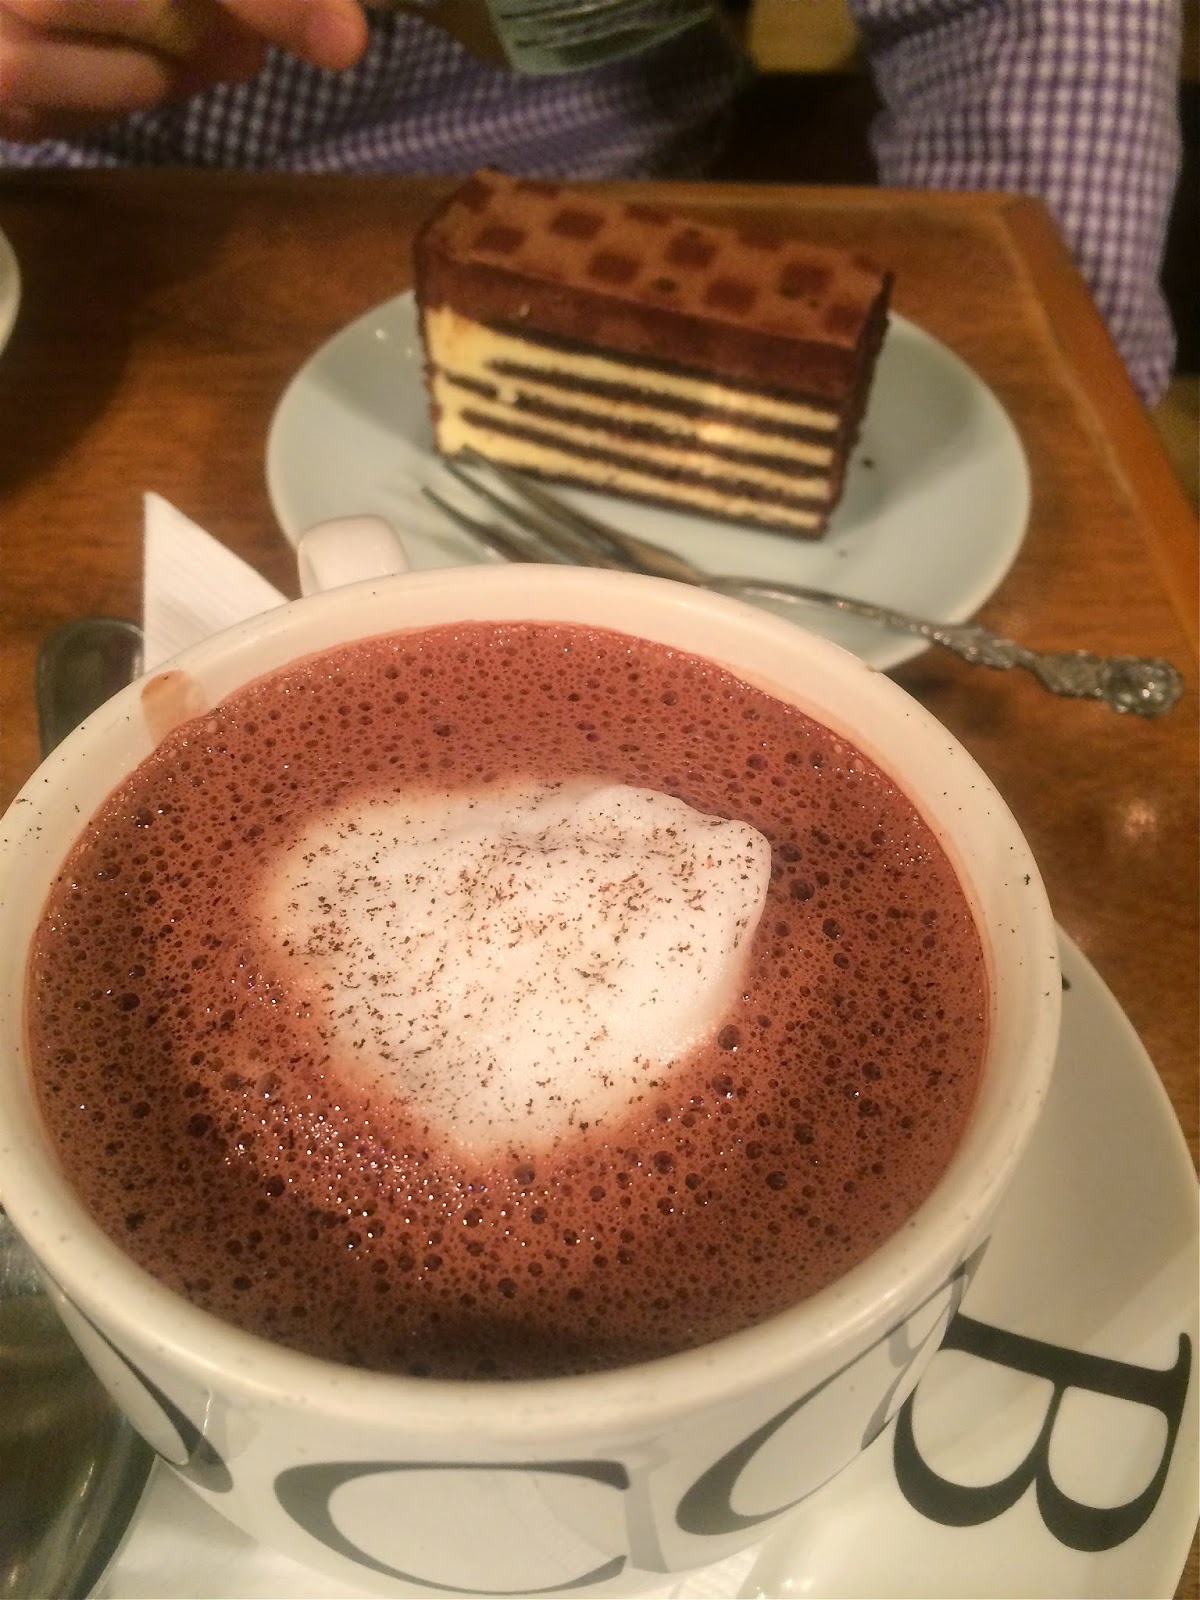
It's a good night when your palate cleanser
 is a piece of refreshing chocolate lemon cake.
Flour Bakery is a great local Boston chain of bakeries started by Joanne Chang, who happened to work for the same consulting firm I did before venturing on a decorated pastry career.  Every time we are in town we stop for a variety of treats at this favorite place, and this time I decided I finally needed to try Boston Cream Pie.  I like the taste and the construction, but the whole time I wanted something crunchy to cut through all the fluffiness.  Chef Chang is known for her sticky buns, and the cookies and pastries are always a hit.  I have received her cookbook as a gift and I highly recommend it! (Thanks Meghan!)

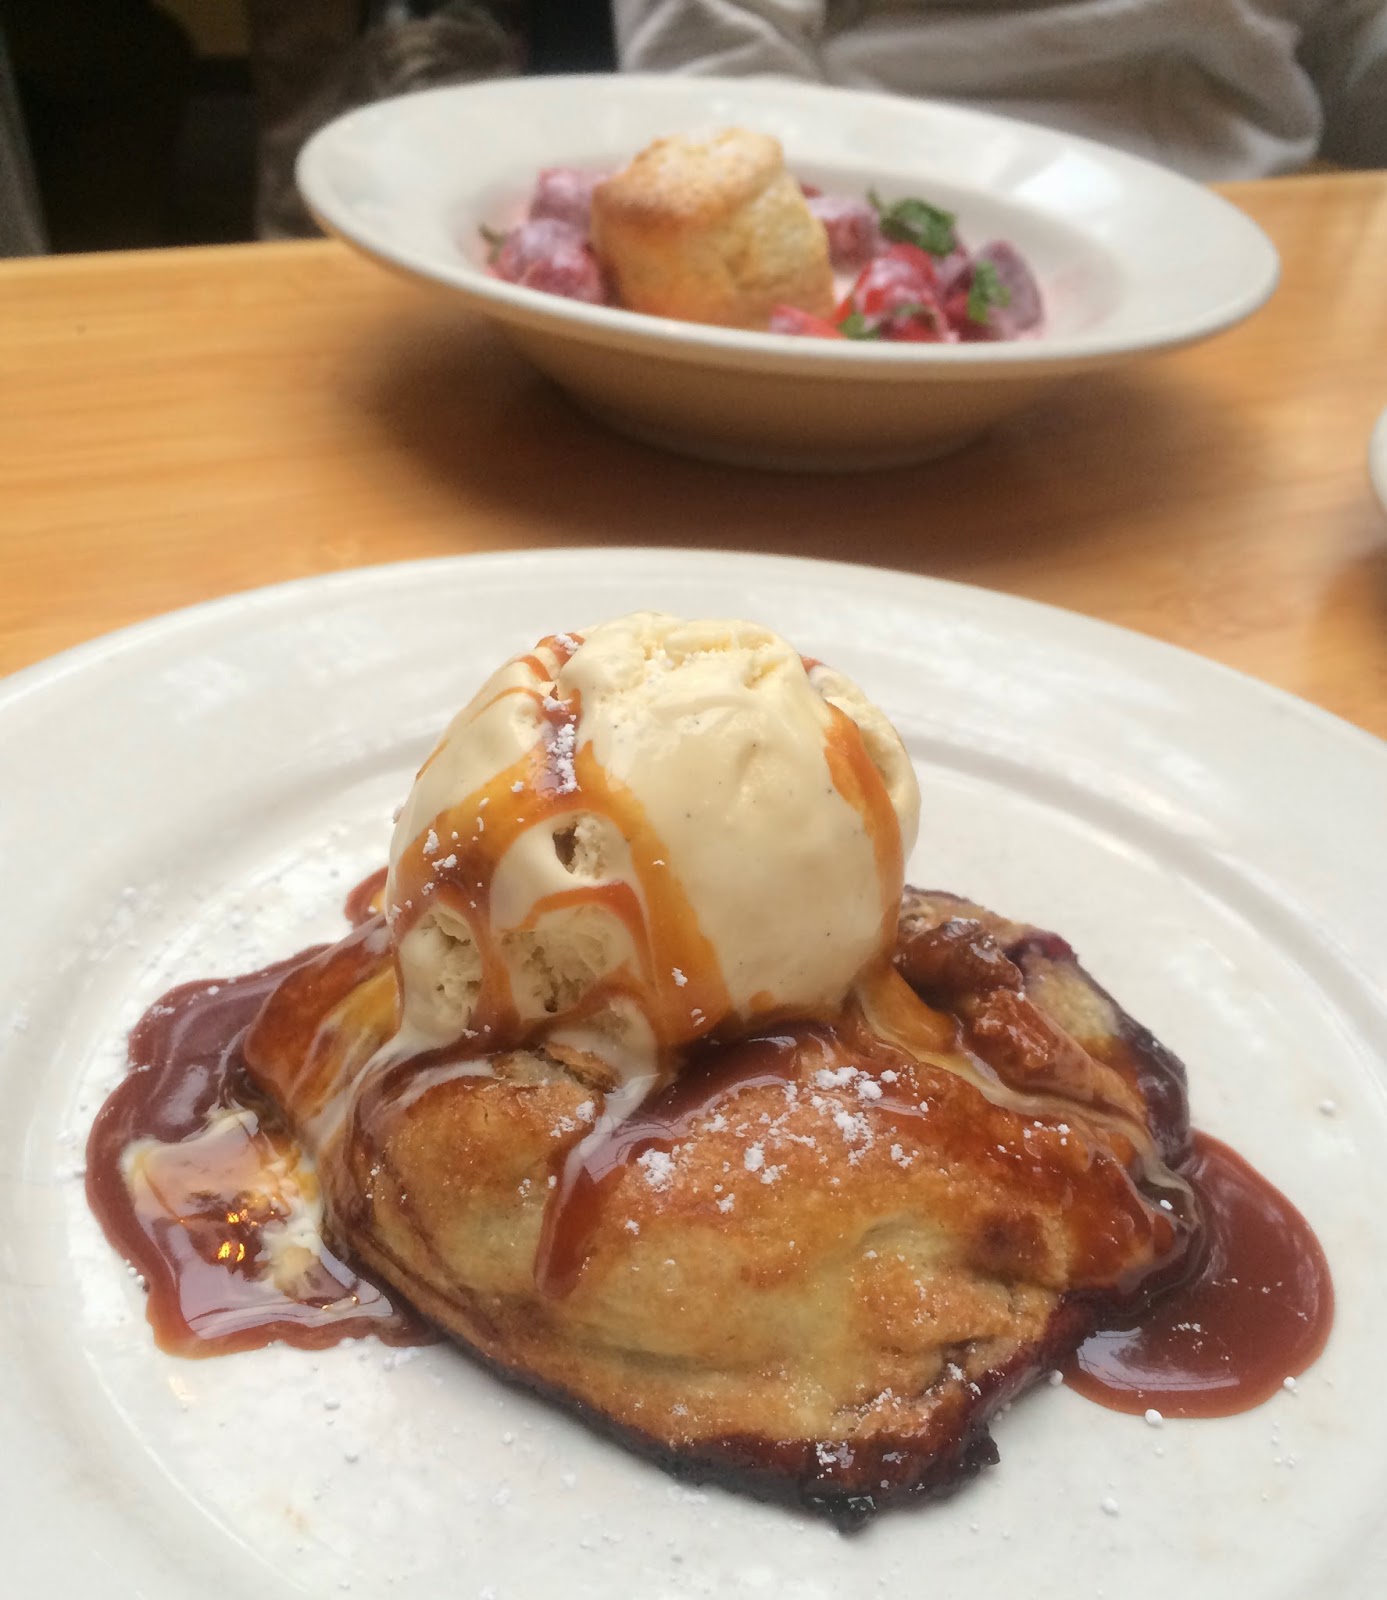
RendezVous was a hidden gem in Central Square.  It was one of those dinners with good mojo:  Good service, varied and creative menu, and delicious food.  Not to forget that Sean's mom made my day (week?) by fulfilling the dream I always have at the end of a meal a good restaurant: ordering all the desserts.
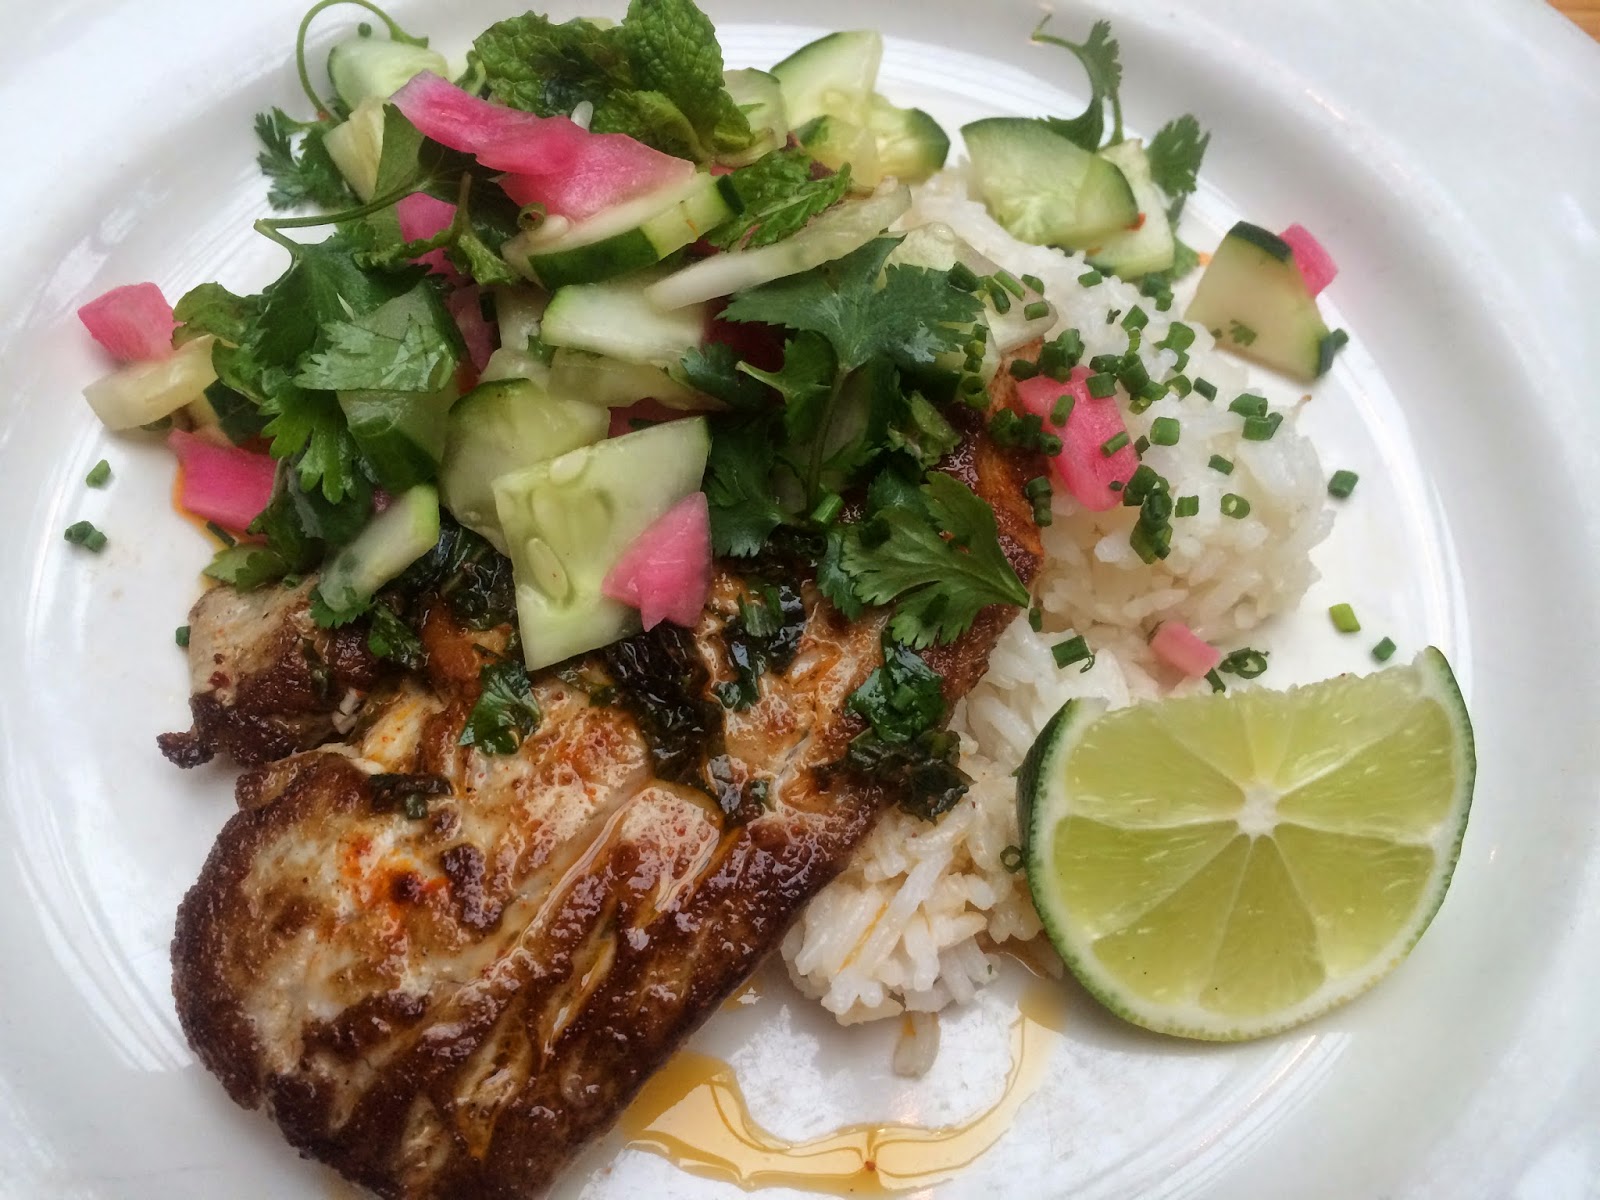
Scrumptious Bluefish

Cherry crostata with caramel ice cream.
View from Cambridge to Boston's Back Bay.

At this point, I don't think I need to explain why I felt the need to run around the Charles River after the last few days.  While on my run, I passed by Craigie on Main which was the site of one of the most memorable brunches I've ever been to.  This restaurant, like the magnificent contemporary middle eastern Oleana (also in Cambridge), provided such extraordinary food in dimly lit dining areas (hence no mouthwatering pictures).  So if you are ever in the area, please find reasons to go.
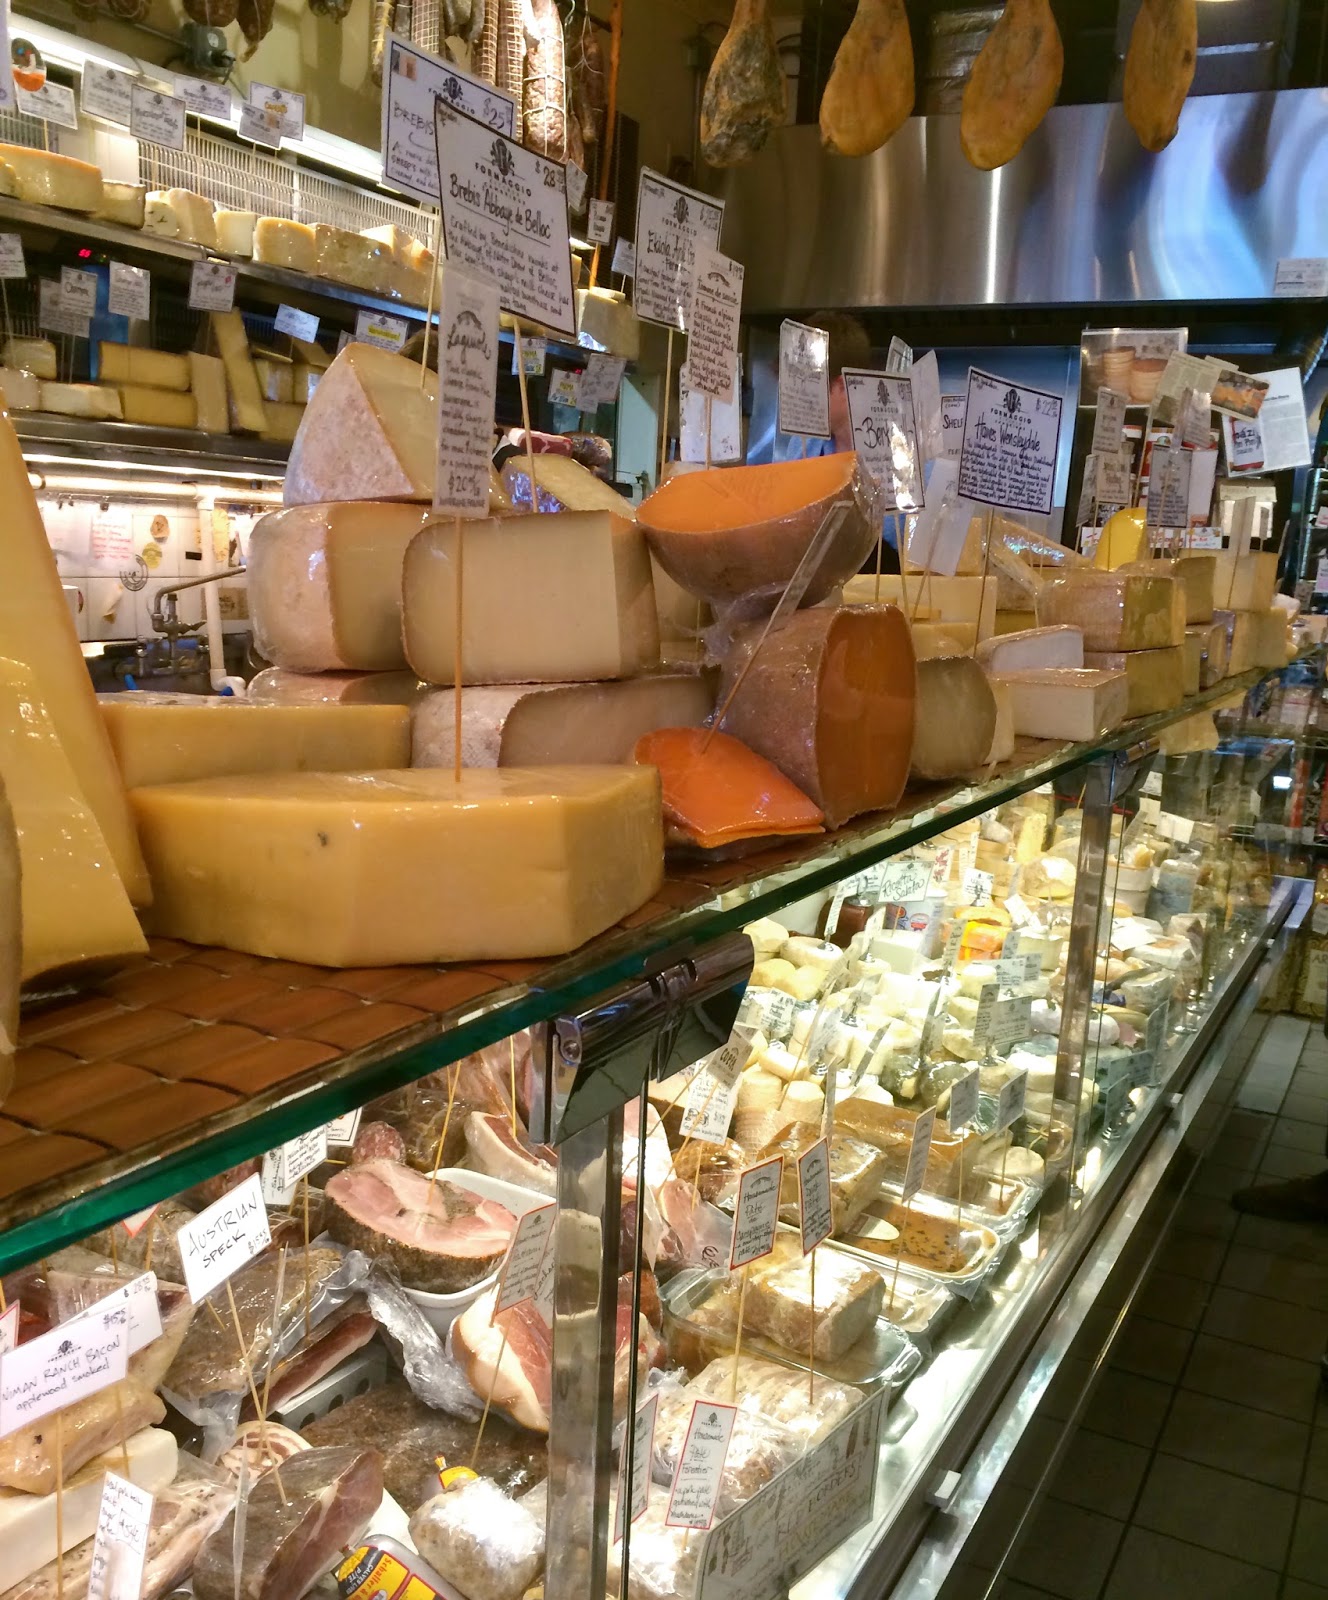
Formaggio Kitchen is so much more than cheese.
Last, but definitely not least, Formaggio Kitchen is my heaven.  Don't get me wrong, I love sitting back in a restaurant and eating great food, but actively exploring this store is like a book worm discovering an old library.  Every nook is filled with carefully selected flours, fresh produce, candies, honeys, jam, and the list goes on.  I think I could spend hours here, and it's really not very large in area.  The original location is slightly off the beaten path in near Harvard Square.  Don't miss the cheese counter and the chocolate selection.


With the summer exodus of students, I truly enjoyed the slower pace and quieter summer atmosphere of this Boston neighbor.  However, quieter does not translate to boring.  As a member of a major metropolitan area, Cambridge and its world-class universities demand high quality and on-trend food.  This gastronomical focus, combined with the history and tradition of the New England area, makes for a delicious and educational getaway to sample its iconic fare.

Next Stop? New York City......

Thursday, December 12, 2013

Top 5 Must Have Items for the Baking Enthusiast

Better tools will help you turn out cookies faster and with more consistent and visually appealing results.


So, now that we have laid the baking equipment foundation, let's move on to the slightly more exciting stuff.  I'd say if you ever click on my blog posts than you probably have almost everything on the beginning baker list.  The items on this list are by no means essential, but they will definitely save you time and frustration when you work in the kitchen.  Which means you'll want to bake more often, and thus leading to a virtuous cycle of stress-relief and delicious eats.  What more can you ask for?

Just a note, this list is for the general baking enthusiast, who I define as someone who enjoys baking at least twice a month, and bakes items from across the entire pastry and baking spectrum.  Why those parameters?  If you don't have time to bake regularly, buying and storing equipment that you don't use will just get really annoying, and if you already specialize (cake decorating, candy making, etc.), then you probably have what you need already.  

1. Digital Food Scale

Why? This is by far one of the best baking investments you can make!  Armed with a volume to weights conversion table or a recipe already listed in weight measures (grams or ounces) you will make measuring so much easier, faster, and better.  How? Instead of using cups to measure everything separately you just place your bowl on the scale and pour.  Also, flour which is notoriously easy to mess up when measuring volumetrically, is a snap with a scale (most recipes assume a 125-135g per cup).  The scale is also good for sticky things like corn syrup and molasses, which you can measure directly into the bowl where they will be mixed, and then you won't spend time an energy scraping it out of the cup used to measure it (where you'll inevitably leave some behind).
My recommendation: A battery-operated scale (no plugs), with a large measuring platform and a readout display than can be pulled out (helps when weighing large mixing bowls and sheet pans)
Stay away from scales regularly priced less than $25 (to cheap to work well), or small measuring platforms (annoying).
Tips for maintaining your investment: Store your scale flat (do not lean it on it side) and for heaven's sake, do not pile stuff on top of it or drop stuff on it.
I own: OXO Good Grips 11-Pound Stainless Steel Food Scale  (pricey, but I've only replaced batteries twice in the last 5 years, plus I like the large capacity)
I'd buy: OXO Good Grips 5-Pound Food Scale (great deal! However, if you exclusively use heavy glass mixing bowls or make triple-size batches, the 5-pound capacity may not work for you)

2. Electric Hand Mixer or Stand Mixer (KitchenAid)

Why? Besides speed and efficiency, some things are very difficult (or completely impossible if you don't have the arm strength) to do by hand like meringues, sponge cake, and mousse.
Hand Mixer vs. Stand Mixer: If you have very little countertop space and are looking for the value option go for a hand mixer.  If you have countertop space to spare, or are in the market for a true baking investment (or have a wedding registry to fill), go for the stand mixer.
If you decide on a hand mixer it should be priced between $35 and $65, and have at least 3 speeds.
If you decide on a stand mixer it should be priced between $200 and $300 for a standard model (they go up to $600).  I also prefer the "bowl lift" rather than the "tilt" version.  If you are confused, you should do your homework outside of this summary blog post (feel free to email me).  A stand mixer, for most people, is the most expensive* small appliance they will purchase, and deserves some due diligence before purchase.
*Unless you have a husband who demands the best blender available on the consumer market.
I own: KitchenAid 5-Speed Ultra Power Hand Mixer (shop around on Amazon, some vendors offer different colors at different prices)
I also own: KitchenAid Pro 500 Series 10-Speed 5-Quart Stand Mixer (works for everything I've ever wanted to make at home)

3. Parchment paper

Why? I cannot stress this more: parchment paper makes EVERYTHING easier.  Line cookie sheets and cake pans for easy removal, cooling, and clean up.  Sift your dry ingredients directly on it and then funnel it into the work bowl.  Fold it into a cornet for decorating cookies or chocolates.  Wrap salted caramels.  There's a whole lot more to mention, maybe several blog posts more.  I'm telling you, it's magical stuff.
Here's the deal with parchment paper: If you've ever used a roll of parchment from the grocery store you know how annoying it is to cut and it never lies flat (so frustrating).  To avoid this issue, buy it in pre-cut sheets, because even though it gets shipped to you rolled up, the paper itself was actually manufactured as a flat sheet of paper, so when you unroll it will stay flat.
I own: Industrial full sheet flat parchment paper that I cut in half myself (I bought 1000 sheets from a restaurant supply store).
I'd buy: From me (shameless, I know)!  I have a ton, and I sell it for 20 sheets for $1 (and it's good enough to reuse at least once).  If you are local, just let me know and I'll package it up for you.  If I need to ship it, I can do 100 sheets for $15.  I've looked everywhere online and cannot find a decent retailer that I would consider buying from.

4. Thermometer

Why? If you ever want to get into making candy (caramels, candy corn), fresh cheese (ricotta, mozzarella), stirred custards (ice cream) or deep frying (donuts, churros) then you'll definitely need one of these.
My recommendation: A candy/deep fry thermometer that clips to the pot and has a range of 100°F-400°F.  I have also used digital probe thermometers in the past, but the clip-on style without batteries is more user friendly and the low tech approach makes it easy to see how fast the temperature is climbing (important if you are just starting out).
Stay away from anything regularly priced less than $9 (cheap), all glass versions (scary), any thermometers not meant for candy/deep frying (meat thermometers will not work, don't even try).
I'd buy: Polder Thermometer, Stainless Steel


5. Dough/Batter Scoop (Ice cream disher)

Why? This somewhat specialized tool for drop cookies, cupcakes, muffins, and ice cream, helps you portion the dough more evenly and makes your cookies more round.
My recommendation: A standard #40 or #50 scoop makes for 2.5-3" cookies.  Just a note, the bigger the number, the smaller the scoop.  I have several sizes, but you can also just use two full #50 scoops for muffins, rather than buying a larger scoop.
I'd buy: OXO Good Grips Medium or Small Cookie Scoop (if you like 3" cookies go with medium, if you like 2" cookies go with small)

Where to Shop:

Since most of these tools are more complex, with moving parts or precision calibration, I'd recommend a quality kitchen specialty store, a department store, or Amazon.  Whatever you do, make sure there is a good return policy in place, because if something is slightly off, most of these items are useless.

Also, there are clearly different variations of each tool, and I've tried to highlight the versions I think I most useful.  If you have any questions for what tools might work best for your situation, just ask!

*Disclosure of Material Connection with Amazon: Some of the links in the post above are “affiliate links.” This means if you click on the link and purchase the item, I will receive an affiliate commission. Regardless, I only recommend products I have personally used (or similar) and believe will add value.

Monday, December 9, 2013

Top 10 Essentials for the Beginning Baker

I've had quite a few people in my kitchen in the last few months and I get a lot of questions about the tools and equipment that I have.  So, to keep you from collecting a junk drawer of useless stuff, or from desperately wishing you had a certain tool mid-recipe, I thought I'd share some of my favorites.

This first list is geared toward the beginning baker, or anyone who is just starting to build the foundations of their kitchen.  I'll be including a few other lists later this week for baking enthusiasts who've been around the oven a bit, and then finally a list for the advanced baker who has it all (but could benefit from a few extras).  Send this to any potential gift givers or go ahead and get something pretty for yourself! Check out the "Where to Shop" section after the list.  Here we go...


1. Mixing Bowls

Why? Most recipes will go much more smoothly if you have at least 2 bowls.
My recommendation: 2-4 stainless steel bowls.  Easy to clean, lightweight and sturdy.  Note:  You'll see glass bowls all over my blog, but that's only for better lighting in my photos.
Stay away from bowls with a spout or handle (totally pointless), and anti-slip bowls with rubber on the bottom (more annoying than helpful).
I'd buy: Stainless steel bowls from Sur La Table in at least the 3.5 and 4.5 qt sizes

2. Measuring Cups & Measuring Spoons

Why? If you want your baked goodies to consistently turn out well, measuring correctly with the right tool is paramount.  Dry measuring cups come in different sizes so the ingredients can be leveled off correctly.  Liquid measuring cups allow you to fill it to the correct measurement marker and then not spill it everywhere.
My recommendation: Plastic liquid and dry measuring cups (lightweight), and stainless steel measuring spoons (sturdy).
Stay away from adjustable spoons or cups, double-ended spoons (nice ideas in theory, but more annoying than useful), and dry measuring cups do not need a spout!
I own:
Dry: KitchenAid Classic Measuring Cup Set
Liquid: OXO Good Grips Angled Measuring Cup (2-cup)
Spoons: Stainless Steel Measuring Spoons from Sur La Table (a little pricey)
I'd buy:
Thunder Group Stainless Steel Measuring Spoons(reasonable price)

3. Half Sheet Baking Pans

Why? Rimmed, half sheet (13"x18") baking pans keep cookies (or roasted veggies) from sliding off the edge are perfect for layer cakes.  Plus they fit in all ovens.
My recommendation: 2-3 aluminum or stainless steel pans (half sheet size).
Stay away from anything textured (useless), non-stick (unnecessary), rimless (not versatile or safe), or insulated (unnecessary, just rotate your pan)
I own (and absolutely love): Nordic Ware Naturals Bakers Half Sheet

4. Silicone Spatula

Why? Versatile and effective mixing, scraping, and stirring tool.  Appropriate for high temperature situations on the stove.
My recommendation: Silicone head, wooden or plastic handle, both curved and straight sides.
Stay away from anything that isn't silicone, anything clear or white (not sturdy), anything too stiff.
I Own: Tovolo 12 Inch Silicone Spatula  (mine have wooden handles, and I bought them from Marshalls).


5. Whisk (aka Whip)

Why? Unfortunately not everything can be mixed with just a spatula.  Whipped cream, egg whites, and other liquid ingredients need a whisk to properly aerate or combine.  I have a few small whisks, but my go to is a single large 13"whisk.
My recommendation: 10-14" balloon-style whisk, with a sealed handle (easier to clean), and lots of thin, but strong wires (which are more effective at aerating).
Stay away from anything completed coated in silicone or nylon (not important), anything with really thick tines (too heavy and your arm will get tired fast), and anything too small (under 10 inches).
I'd buy: 
Winco Stainless Steel Piano Wire Whip, 12-Inch
or OXO Good Grips Balloon Whisk, 11-Inch

6. Rolling Pin

Why? Most beginning bakers will want this essential item for pie crusts and rolled cookies.
My recommendation: A wooden American (handles & ball bearings) or non-tapered French (one piece, solid wood) pin.  American is more traditional here, but French is easier to clean.  If you have doubts, go with the American.
Stay away from marble (heavy, expensive, unnecessary), fully tapered pins (useful but harder for beginners to use),
I own: A pin from Target.  Here's a similar one: Farberware Classic Wood Rolling Pin

7. Rasp-style Zester (aka Microplane)

Why? Perfect for zesting citrus, or grating fresh nutmeg, ginger, chocolate, and hard cheeses.
My recommendation: Microplane brand is the gold standard.  There are several styles, but I like the ones with a rubber handle and no plastic.
Stay away from non-rasp-style zesters (difficult to use).
I own: Microplane 46720 Premium Zester/Grater


8. Fine Mesh Sieve

Why? A multi-use tool that allows you to sift dry ingredients, strain custards, and gently wash delicate berries or herbs.
My recommendation: A sieve that's at least 6-8" in diameter, with fine mesh.
Stay away from mechanical sifters.  Bulky, hard to clean, and can only sift, as opposed to strain.
I own an older version of the OXO Good Grips 8-Inch Double Rod Strainer (very, very good quality, but a little pricey at ~$20)
I'd also buy: Winco 8" Single Fine Mesh Strainer (a very reasonable price)

 9. Bowl Scraper

Why? This is an awesome multi-purpose tool that helps you scrape batters and doughs out of bowls and helps you to safely and quickly and portion doughs.  It's also nice for scooping finely chopped veggies or herbs off your cutting board.
My recommendation: Plastic with a straight cutting edge and a rounded scraping edge.
Stay away from anything super stiff (won't be flexible enough to scrape out a bowl), and anything that costs more than $5 (it's a piece of flat plastic!)
I own the Ateco Bowl Scraper.  You can find it in stores at Sur La Table for $3.

10. Oven Mitts

Why? Relying on kitchen towels isn't always the safest way to remove hot items from the oven.
My recommendation: Two padded mitts, that cover most of the forearm, with a loop for hanging.
Stay away from silicone or thin pot holder-style (most people burn their wrists and arms), and the giant ones used for grilling outside labeled "flame retardant" (too big for regular use).
I own a pair from Target.  I've seen some very cute ones from Sur La Table, but I couldn't find a decent pair on Amazon that I liked.

Where to Shop:

You can find many of these items at discounted home goods stores like Marshalls for very reasonable prices.  For example, I like to buy my spatulas there for $2.  I've also found nice measuring cups and spoons, just remember that everything they sell is not necessarily useful (strawberry corer?).  If you don't have access to discount stores, Target and Macy's have great kitchen basics at reasonable prices.

I own many items from specialty kitchen stores like Sur La Table and Williams-Sonoma.  However, watch out for crazy prices.  I personally would not buy any small kitchen tool for more than $20 at one of these place unless 1) you have a gift card, or 2) you are in rush.  Same warning as above: that 3-in-one avocado tool is just as useless at these stores and more expensive.

Some of the items I own are no longer available, so I've included links to items that I researched as if I were buying them myself.  This means I've balanced perceived quality from reviews, cost and personal experience with similar items.  Keep personal preferences in mind!  For example, if a particular person has a retro-style kitchen, they may prefer colored glass bowls and brightly colored tools, others only like black and stainless steel.  I also could write an entire blog post on each of these items, but who has time for that!  My guidelines + your own good judgement = success.

So, if you have everything already on this list, then good for you.  You clearly have set yourself up for baking success.  Stay tuned for the next list coming later this week!

*Disclosure of Material Connection with Amazon: Some of the links in the post above are “affiliate links.” This means if you click on the link and purchase the item, I will receive an affiliate commission. Regardless, I only recommend products I have personally used (or similar) and believe will add value.

Wednesday, August 28, 2013

Snack time

Just because I like dessert doesn't mean it's the only thing I eat.  In fact, late at night, I usually crave salty, crunchy snacks.  Let's ignore the fact that this craving is probably a reaction to my sugar consumption throughout the day, and move on.

If I inherited my love of ice cream from my dad, I most definitely inherited my salty snack love from my mom.  She always brought home fairly wholesome groceries, like local vegetables and fruits, whole grain breads, and non-fat dairy products.  However, every once in a while, there would also be a bag of Chili Cheese Fritos Corn Chips thrown in the mix.  I unfortunately did not acquire her ability to ration them out over a few days.  Now that I do my own grocery shopping, I usually eat half of my "treat" snack on the way home.  

OK - before I get some of your hopes up, I am not going to try to make Fritos.  However, I am going to make an all-purpose, salty, crunchy snack: a whole wheat cracker.  Now I know you might be thinking, why would I make crackers when it's so easy to buy them at the store?  Well, by that logic, why would you ever make your own chocolate chip cookies at home?  ...still need convincing?  Really?  Read on.

For starters, crackers are probably easier to make than cookies and you can eat them with hummus, cheese, or whatever dip you'd like.  Like cookies, they make your kitchen smell delicious and they are also better than the store-bought version.  Lastly, people give away home-baked cookies all the time, but gifting crackers, that means love. 

And, on that note...
Only a slight adaptation from the original
The Original Recipe: Alton Brown's Whole Wheat Cracker recipe in I'm Just Here for More Food

My tweaks:
1. I like a little salt in the dough, as well as sprinkled on the cracker, so I add 1/2t of salt to the dry ingredients
2. For something a little different, I sprinkle pepper or paprika on top of the cracker too

Method: 
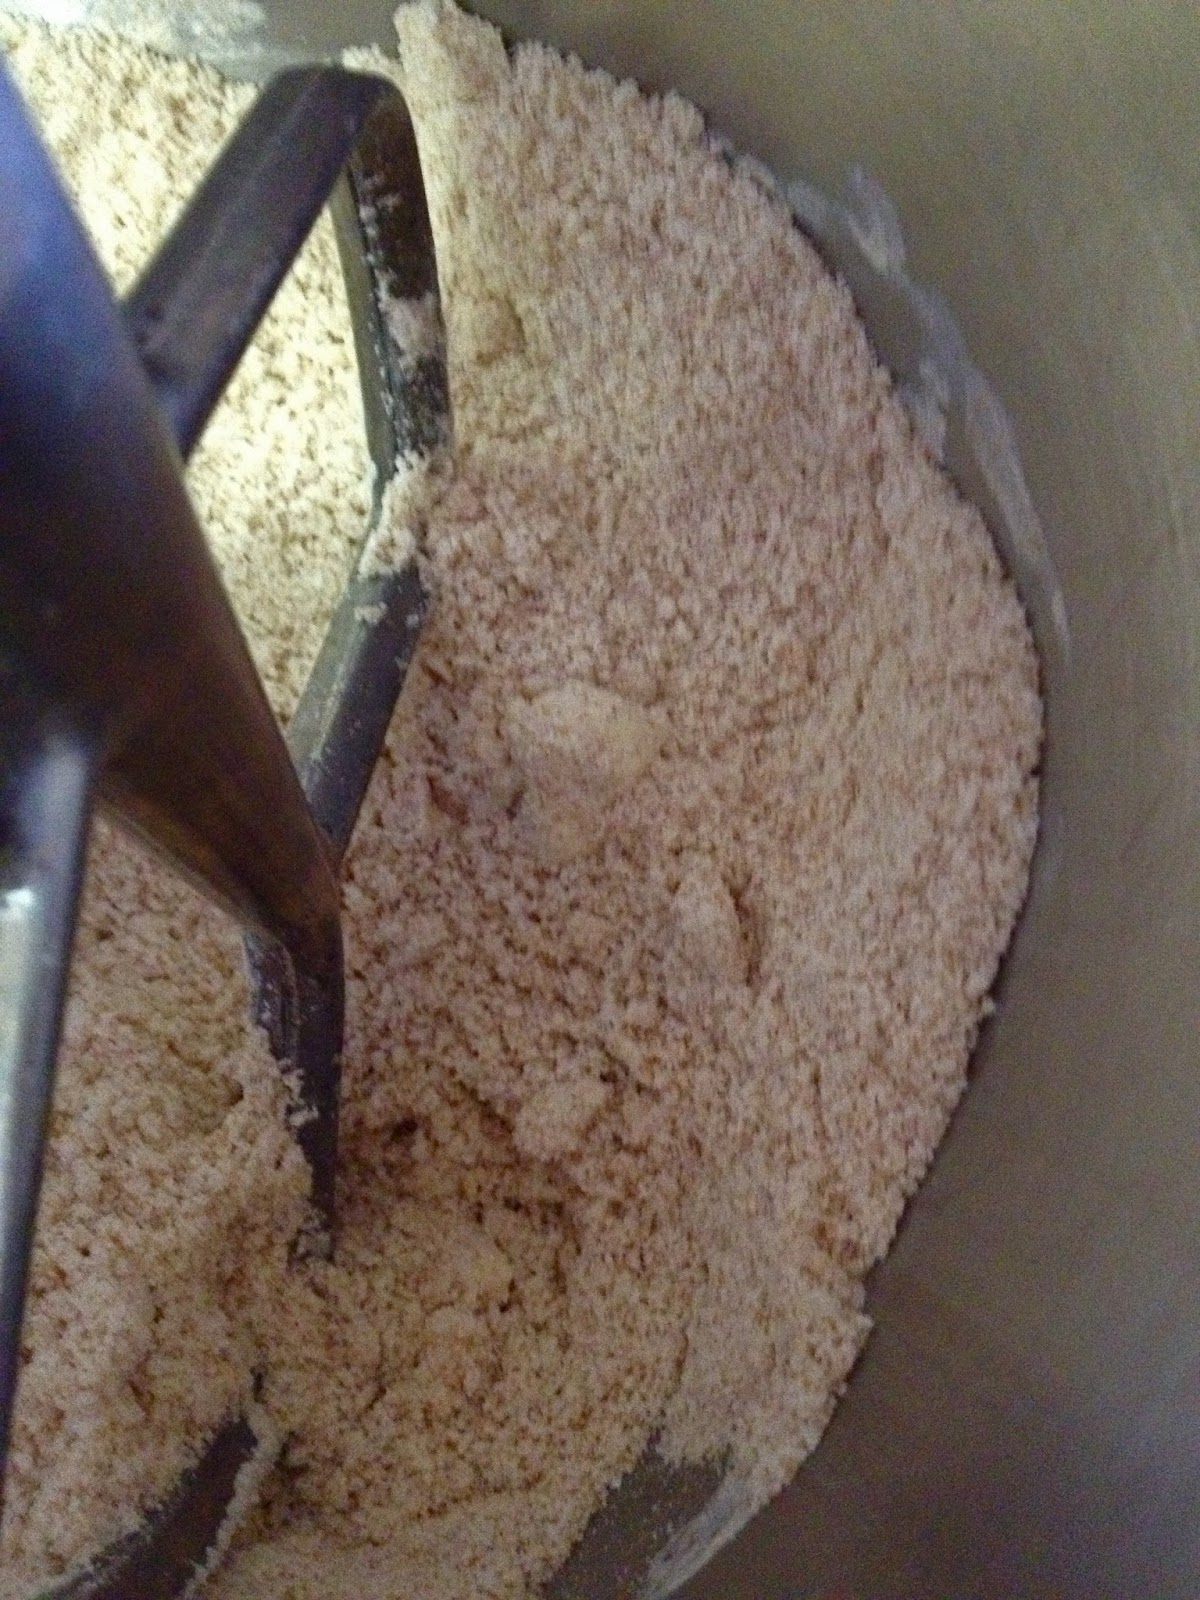
1) Place dry ingredients in the bowl
The butter made an early entrance in this photo apparently
2) Cut in cold butter using a food processor, KitchenAid, knives, or hands
If the largest pieces of butter are pea-sized, move on to step 3. 
3) Add wet ingredients and mix until dough just comes together

4) Wrap in plastic and rest in the fridge for 10 minutes
Resting makes it easier to roll
 5) Working with just one quarter of the dough at a time, roll it as thin as possible (1/8-1/16''), using plenty of flour to keep it from sticking.  
This little piece will make a whole
sheet pan of crackers
Flour is your friend.
When using a rolling pin, always roll straight away from your body rather than turning the pin at an angle, or turning it completely perpendicular.  You will be able to balance the pressure in both arms more evenly, resulting in a more even cracker, cookie, or pie crust.  If the dough is uneven, rotate the dough 90 degrees, not your rolling pin.  This dough has a lot of moisture, so I'd suggest rotating and adding flour underneath the dough every 3-4 passes with the rolling pin.  After it gets pretty thin, it will be harder to lift and rotate, so at that point, just fold up a side and put more flour down where it's sticking.  I know this sounds complicated but with practice, it won't take more than a minute to do.


6) Move to parchment and then cut into triangles using a pizza cutter or bench scraper. 

7) Place parchment with crackers on baking sheet.  Brush with melted butter (~4T) and season with salt.  If you are like me and only have two baking sheets, you'll have to do this twice .  Alternatively, you can just just freeze the remaining two sheets of crackers.  Just leave them on the parchment, wrap them up with plastic, then just add butter and salt before baking them some other day. 
Side note:  When seasoning pretty much anything, release the seasoning from about one foot above the food.  If you've ever seen a chef do this and think it's just them showing off, it actually serves a purpose.  The further away you season, the more evenly your seasoning falls on to the food below.  Think of it like a can of spray paint.  As the distance from the nozzle to the wall increases, the more even the color coverage is.

8) Bake until golden brown at 350 F.  It should take about 30 min total, and don't forget to rotate after 10-15 minutes.  If they are pale at all, they won't be crispy, so don't be afraid of little extra color.  
Eat me.
The Result: A crispy cracker that's great on its own, or shines with some side kicks.   

Verdict: This is a menu regular.  They've been spotted on a cheese plate with fresh fruit, red pepper jelly and spiced nuts.  To round out a nice gift, you could pair them with a wedge of your favorite cheese and a bottle of wine. 

blue cheese + honey = cracker buddies
There will always be a place in my heart for the aforementioned flavored corn chips (hopefully not literally!), but recently they have scooted over to make room for these crackers. I hope you enjoy them too!